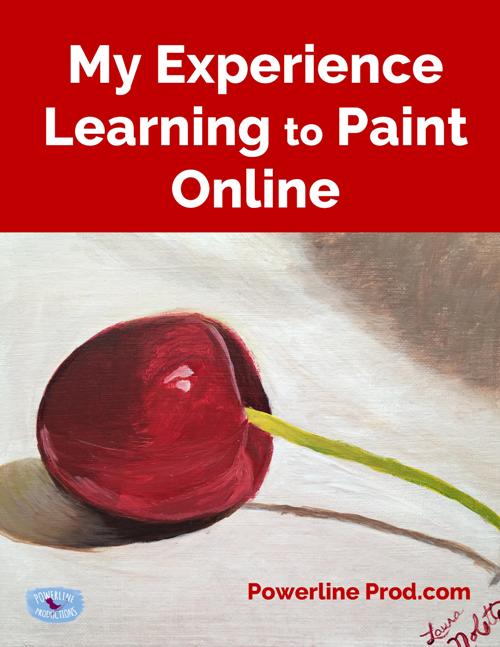
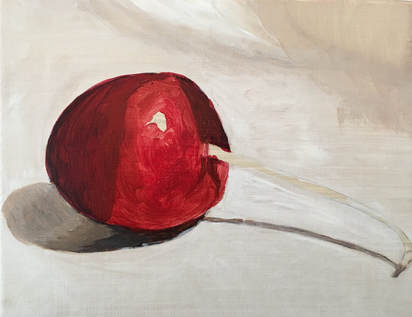
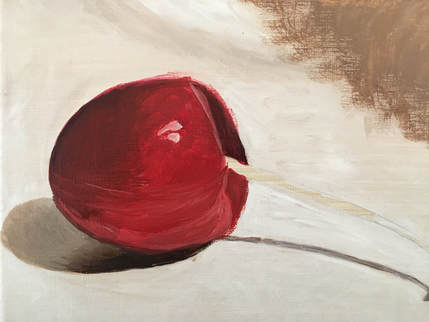
 I’ve dabbled in art since I was a child. There always seemed to be other interests and priorities which prevented me from pursuing what talent I may possess. One of those other interests was homeschooling my children. As we worked through the years I met a few promising artists who were just not sure where to get training. Art school, after all, is very expensive, right? This year I was blessed with the opportunity to take an acrylic painting class with the students in our homeschool co-op. I started learning so much after just one class. However, what do you do if you don’t have access to a professional painter who will teach you or your children? You go online! One of our homework assignments was to paint a cherry using the Beginners Acrylic Still Life Course at the Will Kemp Art School. You can read about the project and watch this series of YouTube videos by going to his website: http://willkempartschool.com/beginners-acrylic-still-life-course-part-1/. This page includes a list of supplies needed, some pictures of the project in process and loads of links and helpful suggestions. I didn’t have access to exactly all the same products and he used but my local Michael’s had acceptable alternatives. 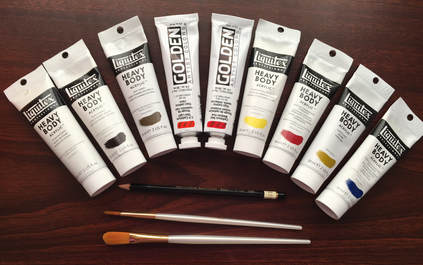 My Experience & ObservationsIn the video Will Kemp advises starting with a “coloured ground” on your canvas. Did I mention he’s English? Love the accent and the English spelling! I didn’t know what he meant by a “coloured ground” so I followed his link to learn How to apply a coloured ground. I was so excited that I was able to sketch the cherry. If you or your student needs help with sketching, his art school has lessons in that. The sketch took me about 30 minutes to complete. 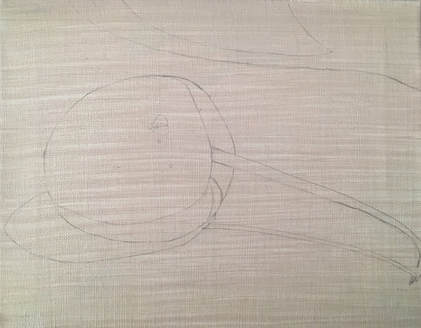 I used to think that painting meant paint what you are featuring then add shadows, but I was completely wrong. We first were instructed to paint the shadows. The first video shows Will Kemp laying down the dark colors. His brush strokes were different than mine, but he was so encouraging I felt at ease to paint as came natural to me. I spent about 20 minutes laying down the dark shades. 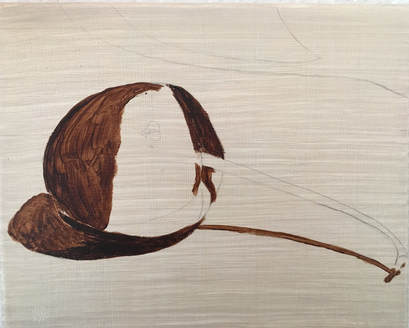 In the second video: http://willkempartschool.com/beginners-acrylic-still-life-course-part-2/ Will Kemp talks about blending reds and other colors to get the perfect shade for the cherry. He also starts adding what looks like white to the background but again, colors were actually blended, and the process continues differently than I had expected. I spent about 30 minutes on this stage.
 The final video contains lessons 3 & 4: http://willkempartschool.com/beginners-acrylic-still-life-course-part-3-part-4/. It includes more information about blending, me demonstrations of the professional painter working on the project, and more great help. I took about and hour to complete these lessons.
 By watching these web pages and videos I learned about blending, shading, and balancing color based on the color wheel. I spent another 20 minutes working on the stem and adding some green shading here and there. 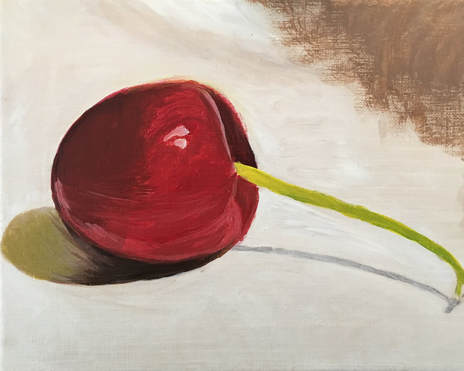 At this point I stepped back for a couple of days. I was thrilled with how well this project had gone but was not completely satisfied with my painting. I didn’t like how green my shadow was, how dark the top right corner was, nor how much white covered the stem’s shadow. Another 20 minutes on this day. 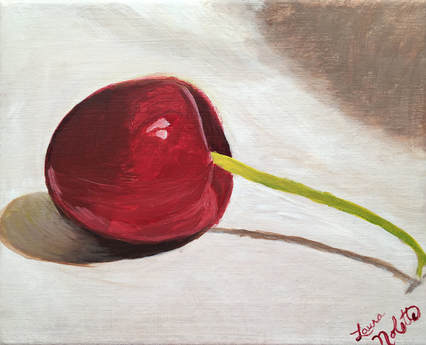 After a couple more days, some constructive criticism, and helpful suggestions I was able to brighten up the highlights on the cherry and soften the dark area in the top corner. A little varnish and I had a lovely painting! Another 20 minutes of painting and I’m satisfied! This would make a great addition to your homeschooling if you have a budding artist in the house. Be blessed! Laura Nolette 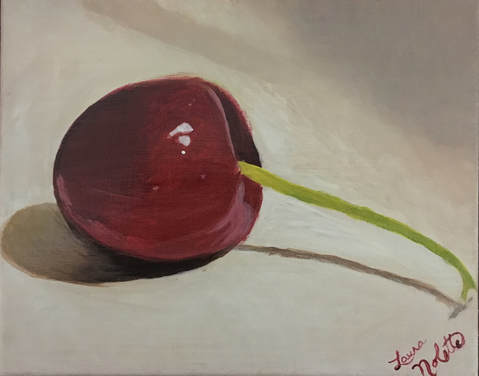
0 Comments
Leave a Reply. |
AuthorsMeredith Curtis Archives
February 2020
Categories
All


|
Powerline Productions
- Home
-
Books
-
Curriculum
- HIS Story of the 20th Century >
-
High School Courses
>
- Economics, Finances, & Business >
- American Literature & Research
- British Literature
- Who-Dun-It Murder Mystery
- Foundations of Western Literature
- Communication 101: Essays & Speeches
- Old Testament Survey
- Worldview: Understand the Times Workbook
- Drama
- Career Choices & the College Decision
- Real Men 101
- Real Men 102
- Real Men 103: Leadership
- God's Girls 101
- God's Girls 103
- God's Girls 104: Motherhood
- God's Girls 105: Homemaking
- Travel God's World Geography >
- Government
- Unit Studies >
- Teach History the Fun Way >
- Families Learn Together American History >
- STEM Notebooking Pages
- Middle School Courses >
-
Bible
- Cozy Mysteries
- Blog
 RSS Feed
Photos from cloudzilla, Fil.Al, vaniljapulla, m01229, Ian D. Keating, (Imagine) 2.0, Theo Crazzolara, RomitaGirl67, RomitaGirl67, Gonmi, moonlightbulb, RomitaGirl67, Amydeanne, Salva Martinez, Graham Ó Síodhacháin, Ruth and Dave, infomatique, MsSaraKelly, moonrat42, {Guerrilla Futures | Jason Tester}, Monica's Dad, kennethkonica, o palsson, Tourismusregion Katschberg, wuestenigel, COD Newsroom, ANBerlin, Henri Photography, Tourismusregion Katschberg, Corey Ann, *_*, diannlroy.com, Theo Crazzolara, DaPuglet, terren in Virginia, George M. Groutas, Bunches and Bits {Karina}, Anders Ruff Custom Designs, ¥§•ªˆ¨ˇ© LOVE © ˇ¨ˆª•§¥, srqpix, inkknife_2000 (8 million views +), judy dean, ANBerlin, Phil Roeder, Base Camp Baker, Anders Ruff Custom Designs
